How A .NET Developer Learned Ruby And Rake, To Build .NET Apps In Windows
I recently decided it was time for me to learn Ruby and Rake – with the specific goal of replacing my NAnt scripts in some projects, due to the high level of complexity and logic that I need in the build process. After asking around the LosTechies crew for advice, and receiving more advice than I had ever hoped for, here’s the basics of what I did to learn Ruby and Rake…
First and foremost – don’t use any kind of IDE. At most, use the “SciTE” text editor that comes with the One-Click installer. It provides simple highlighting, but doesn’t give you any crutches like Intellisense, debugging, etc. Learn the actual language, not an IDE.
- Install the Ruby language and runtime via One-Click Installer for Windows. Be sure to enable Ruby Gems.
- Read the Wikibooks information on Ruby Programming. The information provided is very easy to read and understand, even for an old VB / C# guy like me. Be sure to read up on the conventions and other basics like objects, methods, and logic constructs.
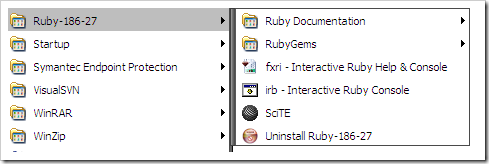
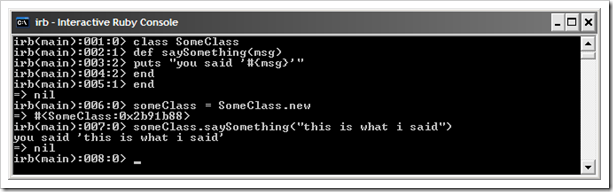
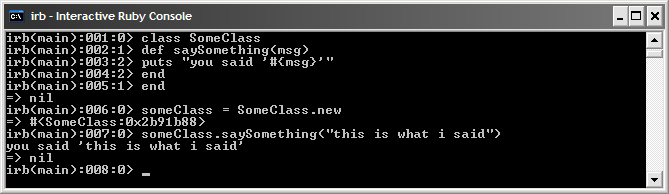
- Run the “irb – Interactive Ruby Console” from your programs list
and start hacking away at the basic ruby concepts from the Wikibooks information. You can type in class and method definitions right there in the console and start executing code!
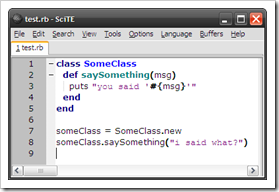
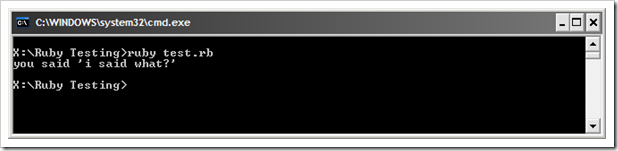
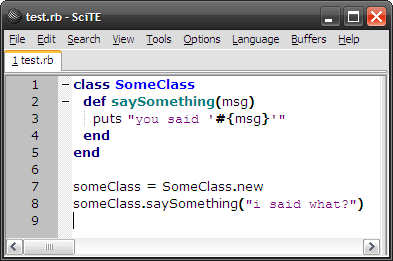
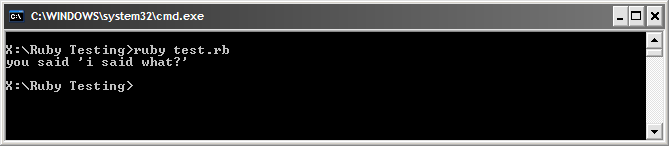
- Run a Ruby file: After you’re comfortable with the basics of Ruby, you can start using a text editor to save some code in .rb files, and run them via the ruby command line.
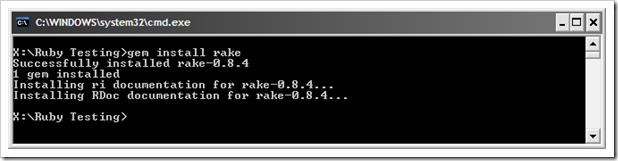
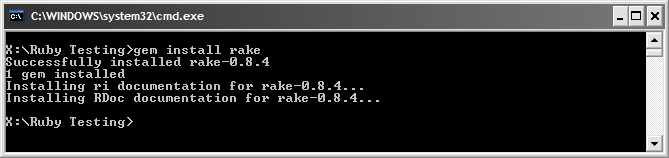
- Get Rake by running “gem install rake” from a command prompt. No really. It’s that simple. Isn’t the Gem system great?!
- Read about how Rake turned Gregg into an alcoholic (it’s a great Rake tutorial! I promise!) and go through the tutorial.
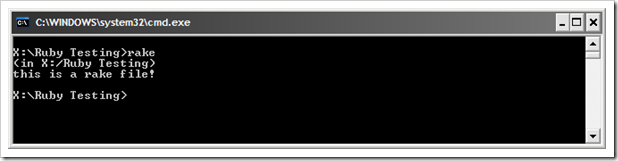
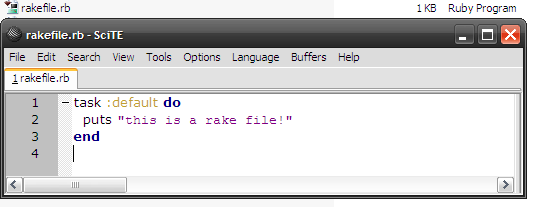
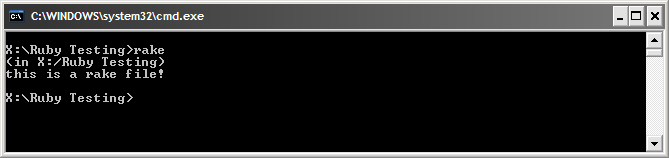
- Then build your own Rake file! Call it “rakefile.rb” so the “rake” command will find it easily.

- Read @laribee’s post on using Rake to build .NET apps and learn how to shell out to an MSBuild call, and build your .NET app!
 </p> </p> </p>

From there, the world is yours! Rake is so stinking simple, and so powerful. You have complete access to all of the Ruby code you could ever want – logic, conditional statements, loops and collections! You can code your entire build process in Ruby, and then script it together with rake tasks! I’m so much happier with Rake than I was with nant. All the angle-bracket XML tax that nant makes you pay was really getting on my nerves, with the complex build systems that I need.
All together, it took me less than 4 hours to create my first usable Rake builds for a sample .NET application. I still have to refer to the language syntax of Ruby, via the Wikibooks entry – I am still learning, after all. But I know the process and how it works well enough, to start using Rake for my project build needs, now!