Creating an Ubuntu developer VM on Hyper-V – Part 3
Introduction
In the previous two posts (here and here) I first prepared a new Ubuntu 14.x VM running hosted in Hyper-V on Windows 8.1 Enterprise. Then I installed all the necessary tools and libraries to start developing Web applications using Angular JS on the client and .NET (Mono) or Node JS on the backend. In the second post I described how we can install and run MongoDB and GetEventStore on our VM. In this third part I want to install and run Elastic Search. The software of my company relies heavily on Lucene which is a low level framework for full text indexing. In the past we have build our own high level framework on top of Lucene (we use the .NET version of it). On the long run apart from being complex, this is a maintenance burden. Thus we decided to give Elastic Search a try.
Installing Java 8
Lucene and Elastic Search run on Java thus we need to first install this. Open a terminal (CTRL-ALT-T) and add the PPA
sudo add-apt-repository ppa:webupd8team/javaUpdate the advanced package tool (apt)
sudo apt-get updateAnd install JAVA
sudo apt-get install oracle-java8-installerIf we have more than one Java version installed we need to make v8 the default by running this command
sudo apt-get install oracle-java8-set-defaultFinally we can check out which version we run
java -version
and should get something like this
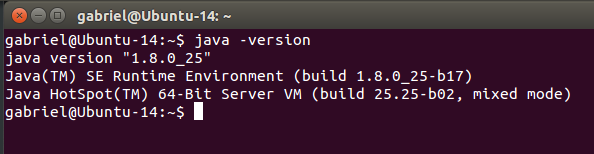
Now we are ready to install and use software that depends on Java…
Installing Elastic Search
Elastic search is very easy to install and run. It is highly scalable and has a nice REST API over which all access happens. We start by downloading and installing the public signing key
Enable the repository
We run apt-get update and the repository is ready to use
sudo apt-get updateNow we install Elasticsearch
sudo apt-get install elasticsearchIf we want to configure the system such as that Elasticsearch automatically starts during bootup we can execute the following command
sudo update-rc.d elasticsearch defaults 95 10
To start Elasticsearch use this command
sudo /etc/init.d/elasticsearch startYou should see something like this

Similarly to stop Elasticsearch use
sudo /etc/init.d/elasticsearch stopInstalling curl
To test Elasticsearch I want to use curl. We can install curl like this
sudo apt-get install curlTesting Elasticsearch
By default Elasticsearch listens at port 9200. We can use this simple command to connect with Elasticsearch
curl –X GETIf all works well we should see this
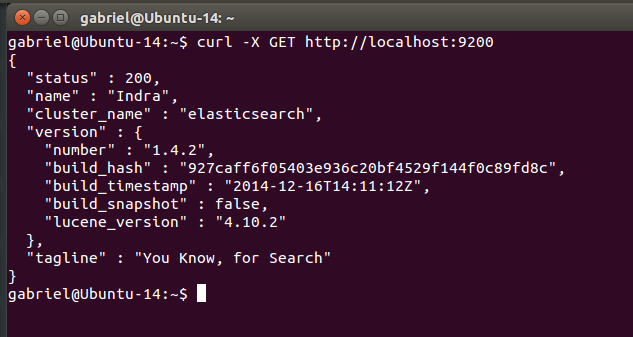
When playing around with a REST API I also like to use the Postman – REST Client for Chrome. We can install this extension from here. Using the exact same URI as with curl we have this
