Build your own single function keyboard
I mentioned in my last post that it took
months between the time I ordered my Infinity Ergodox keyboard and the time it arrived. In the meantime, I started reading up on it, and learned that the firmware could also run on a Teensy. I didn’t know what a Teensy was, so started researching. Its a low-cost development board that is (mostly) Arduino compatible, and excels at building USB input devices. Using the Teensyduino software, you can easily configure the type of device it will appear as to your computer (USB mouse, USB keyboard, etc).
I decided I’d try my hand at building my own keyboard. But this one would be very special. It would have one key, with one function: approve GitHub pull requests! At ShippingEasy, all of our code goes through a Pull Request. Before you can merge the Pull Request, someone else has to approve it. By convention, we indicate approval with the :+1: emoji (also :thumbsup:). So I wanted a big, red button that I could slap to approve a pull request.
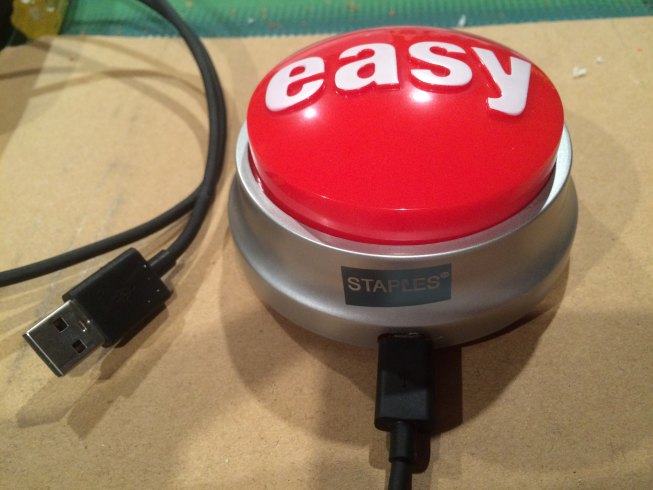
Turns out, its pretty easy to do. My search for a big red button led me to the Staples Easy Button, which has a good reputation for these types of crafty projects. The button is very sturdy, so it can handle your emphatic code review approvals.
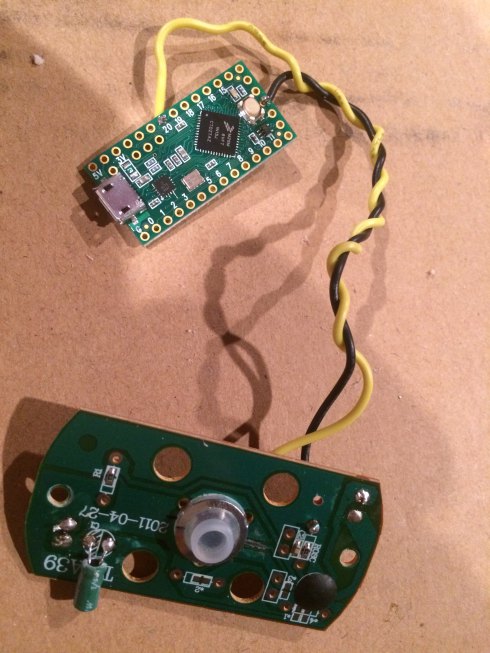
The electronics part of the project was very straightforward. I disassembled the Easy button (good instructions) and got rid of the speaker. I used some hookup wire to connect the Easy button’s existing button circuitry to one of the input pins (20) and Ground on the Teensy LC. To verify the button was connected properly, I wrote a simple program for the Teensy that lit up the onboard LED when there was input on pin 20.
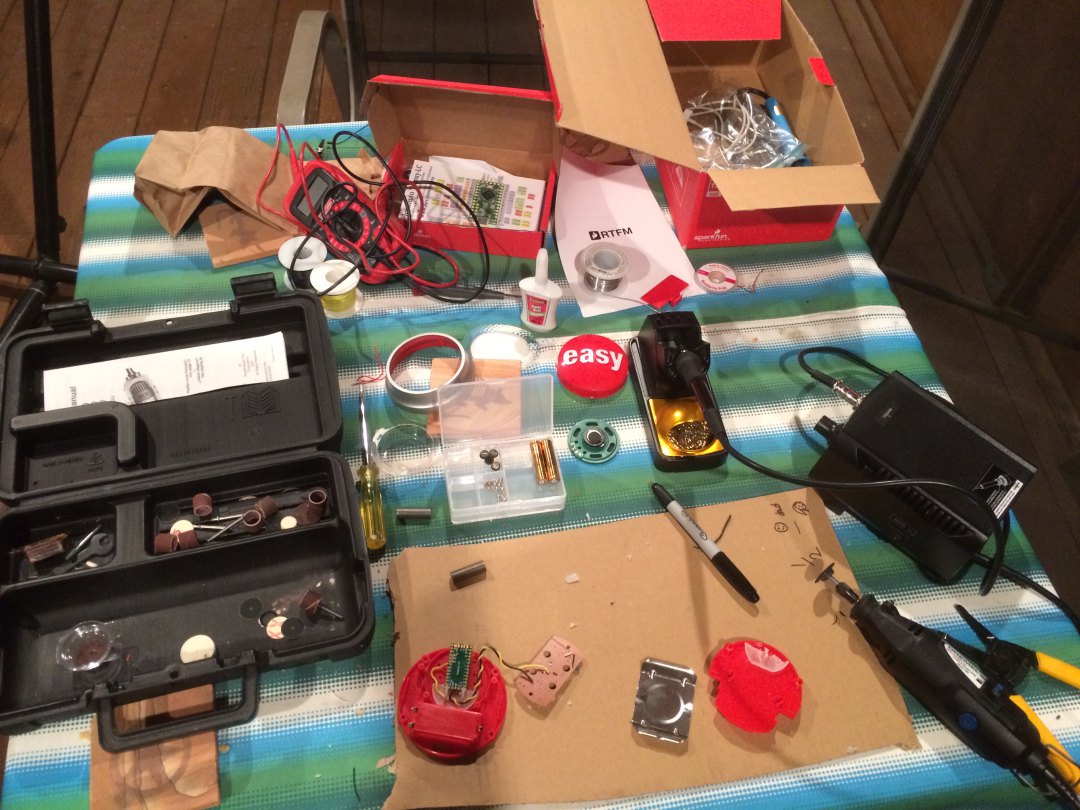
The hardest part, by far, of the entire project was trying to fit and secure the new board inside, and be able to close it back up. I also needed a hole in the case so the USB cable could go from the Teensy to the computer. Luckily I have a Dremel tool, which is perfect for this type of job. I used it to carve out a lot of the internal plastic, and drilling a hole in the side for the cable. I got a little creative and glued in a carved-up a plug protector I found in the junk drawer. This serves as a mount for the Teensy, so it won’t rattle around inside.

The final, and easiest, step was to write the software for my new “keyboard”. I used the Teensyduino add-on for the Arduino IDE, and set the USB Type to Keyboard. All Arduino programs (“sketches”) consist of a setup and a loop function. The setup is run once, and is where I configure the hardware pins. The Teensy LC’s onboard LED is available on pin 13 – I configure that as an output (to aid debugging). Then I need to configure pin 20 as an input (you’ll recall I soldered a wire from the button to pin 20). The loop function runs repeatedly, forever, while the device has power. I use the Button library which nicely encapsulates the logic for detecting button presses on an input pin. When the button is pressed, I turn on the LED and then send the sequence of characters :+1:, followed by Command+Enter to submit the PR comment form (probably needs to be changed to ALT+Enter on Windows). The Keyboard library handles all the details of sending the proper USB HID codes to the computer. Full source code:
/* Add +1 comment to Github Pull Request

   You must select Keyboard from the "Tools > USB Type" menu
*/

#include <Bounce.h>

const int ledPin = 13;
const int buttonPin = 20;
const int debounceTime = 10; //ms

Bounce button20 = Bounce(buttonPin, debounceTime);


void setup() {
  pinMode(ledPin, OUTPUT);
  pinMode(buttonPin, INPUT_PULLUP);
}

void loop() {
  button20.update();

  if (button20.fallingEdge()) {
    digitalWrite(ledPin, HIGH);
    Keyboard.println(":+1:");

    // submit form (Command+Return)
    Keyboard.press(KEY_LEFT_GUI);
    Keyboard.press(KEY_RETURN);
    delay(100);
    Keyboard.releaseAll();

  } else if (button20.risingEdge()){
    digitalWrite(ledPin, LOW);
  }
}
I had a blast with this project, and its a great introduction to building a simple device that can talk to a computer. Using the Teensy and a big button, you can send anything that a USB mouse or keyboard can send. Think of the possibilities! Special shout-out to Sharon Cichelli for her enthusiasm in showing how accessible and fun these hardware projects can be – hi Sharon!
Originally posted at http://www.joshuaflanagan.com/blog/2015/11/07/build-your-own-single-function-keyboard.html
Comments
Commenting is closed.
Very nice!
I like your soldering iron. So jealy!
I hadn't heard of Teensyduino before this. Definitely gonna check that out
Thanks!
I'm pretty happy with the soldering iron. Unfortunately, I just looked it up and learned it has been discontinued: https://www.sparkfun.com/pr...
The Teensy devices are very cool. Makes these kinds of projects very simple (and cheap).